
As any good gigging player will tell you, music is about what you don’t hear, and don’t play, as much as it is what you do.
As Miles Davis put it:
“It’s not the notes you play, it’s the notes you don’t play.”
When it comes to studio recording, there are two things we really don’t want to hear:
1) Noise, and
2) Distortions of our recorded signal
Avoiding those sound traps are why we always should be utilizing studio soundproofing techniques and products.

Sure, it’s better to have captured an amazing musical performance with a little noise than to not have it recorded at all.
But if you’re into recorded audio at all, you know it’s about the little things: those tiny details that we stack, sound upon sound, effect and effect, until our goal is reached.
Starting your recordings with clean, unfiltered, unmangled signal sources is perhaps the greatest detail of all in a recording studio.
“Always record the best signal possible.” It was drilled into my head when I first started recording, and it’s still resonating there today.
So how do we do it? Well, there’re certain things that will really “Windex the windows” of your audio. Let’s lay ’em down…
There IS A Difference
We should probably talk first about the distinction between “soundproofing” and “sound absorption”.
“Soundproofing” is meant to outright STOP the transference of sound from one point to another, like from your Rehearsal Room into your Control Room. In other words, it usually is talking about spillage of audio, room to room.
“Sound Absorption“, on the other hand, is designed to improve the frequency clarity within any given space, such that noise is reduced, and frequency alterations are kept to a minimum.
With these definitions in mind, it’s easy to see that true room soundproofing is an expensive business. You’d have to literally tear down ordinary house walls, floors AND ceilings, and install a whole slew of additional layers in order to truly soundproof a room.
Those expensive professional studios you’ve seen, been in, or heard about?? They have all that stuff built-in from the ground up. It’s a lot harder for us with preexisting “normal houses” to alter the sound qualities (or lack of it) after the fact.
Thankfully, using sound absorption principles and items are typically all we need to be able to capture good, clean audio signals and afterwards process them in a way that allows for maximum purity of the original signals, without mutations due to room construction or materials.
I’m going to show you how to set up this maximized type of recording setup by looking at the four prominent surfaces of your studio control room:
- Walls
- Ceiling
- Floor
- Table
Your control room is where most of the magic happens. It’s also where you must be the most careful in how you position everything. The three flat, reflective surfaces listed above can wreak havoc on your final audio products, and their power to wreck your mix should not be underestimated.
But they are powerless… with a little preparation!!
Look Out, Behind You… !

Let’s talk about “the back wall”, or what’s behind you as you sit in your mixing seat.
No, it’s probably not Lon Chaney as “The Phantom”. Though, if it were… that’d be pretty cool!
But bouncing frequencies can definitely creep up on you from where your monitors have sent the sound – behind you. If you have normal smooth, flat walls back there, LOOK OUT…!! Monster Opera roque tones will be batting your head like tumbling notes from an organ recital!!
It’s typical to see studio tables positioned near the ends of a rectangular- shaped room. this is fine, as long as you are a few feet away from the wall behind your speakers. Following the 38% rule might be to your benefit also, so CHECK HERE first to see if it jives with your room dimensions.
I went a little unorthodox in my studio, but it’s worked like a charm. I think the reason is mostly due to one thing: cubicle dividers. They’re the blue panels you see in the pic below.
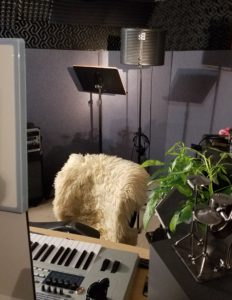
I got ’em because one day, when in casual conversation with a fellow musician, I was told that some office partitions were being giving away for free at a local church.
I went over, checked ’em out, and soon had seven office dividers, each 59″ by 59″, tied to the top of my Jeep Grand Cherokee.
I, uh, definitely took the back roads that day!
These things are perfect for studio use. They are cloth on both sides. Beneath the cloth is a thin layer of wood, there’s an air pocket between those layers. This makes for excellent sound absorption.
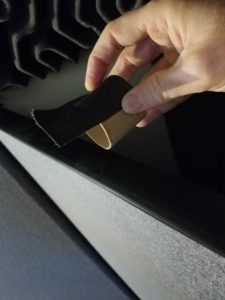
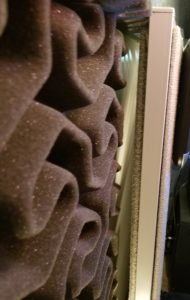
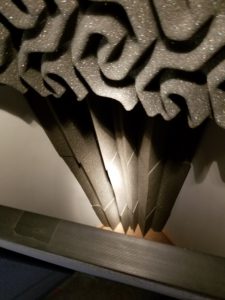
On top of that, I made a 2″ spacer out of (wait for it…) a T.P. ROLL (see pic to the right) so that I also have an air pocket behind the panels to add further buffering to any signals my monitors pump out (see photo below).
Talk about suckin’ up the noise… I can scream into that corner and it just disappears, quick as a blink!
The good news for you is that you can almost always find sound-absorbing office dividers on Craigslist for peanuts, or sometimes Freecycle… for FREE! I checked just now saw THIS AD, for example, in my area. Check under these Search titles: “Office Dividers”; “Office Partitions”; “Cubicle Panels”, or any variation of those.
Always make sure you’re getting dividers with cloth on the outside. You never want your outer layer to be a hard smooth material, ‘cuz that’s just like adding another wall for sound to bounce off of even more!
As you can see from the picture above, I’ve placed two of my dividers on either side of the corner behind my mixing chair, and one between them, stretching across the corner and parallel to my back.
Behind this middle partition, I have bass traps stacked three high. Then, above all that, I’ve hung more sound absorption foam.
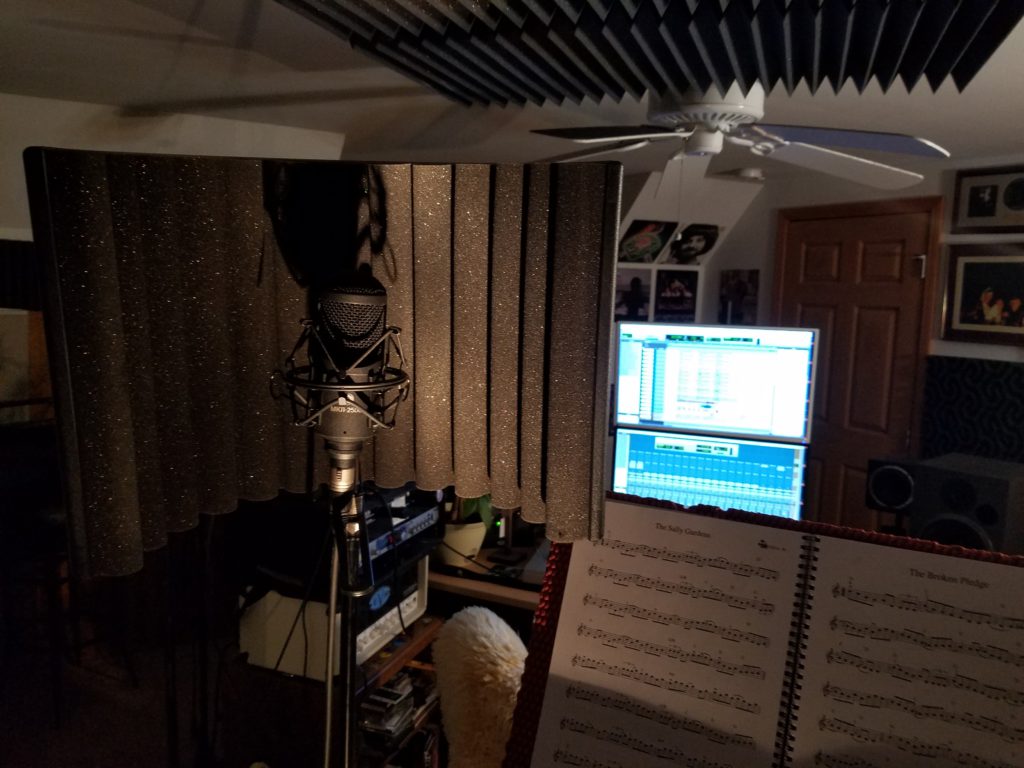
This has created a corner that is REEEEALLY dead, sonically-speaking. I love it, ‘cuz I can track all my lead vocals a few feet behind my mixing chair, where I can still see the computer monitor and check my signals and status at a glance.
The only thing I had to add to do this was an SE “Reflexion Filter” (check it out HERE) for mic isolation from behind, as you see to the left.
This dead corner is also we’re both of my monitor speakers are pointing when they pass my ears. Any reflections past that point are caught forever in, as Stephen King put it, “The Dead Zone”!!
So don’t forget: check Craigslist, or even better yet, Freecycle, and look for those office dividers.
Your mixes will be glad you did. 😉
Those Pesky SIDE Effects
You’ll want some sparse foam soundproofing coverage on the side walls of your studio.
This is especially true if your room is a perfect square or rectangle. Too many standing waves can accumulate at too many frequencies and start Ping-Pong zinging around your ears like a Pong game on steroids!
On the other hand, some have the misconception that they have to cover their whole studio with foam, like white on rice, in order to monitor their recordings correctly. This is not the case.
Sometimes you want a bit of reflection in your recordings, not a room so dead that a zombie horde could be screaming for your brains a few bloody arm-lengths away and you wouldn’t able to hear it because of the Emo tune you’re remixing into a Trance classic.
If you’re wanting to build and isolation booth for pristine, low-noise-floor vocals, then sure… go crazy!
But otherwise just putting 2″ or 1.5″ foam squares in strategic places on your side and back walls will do the trick.
I still have about half of my side walls naked, but since it doesn’t negatively affect my mix zone, it’s all good.
Where do you put ’em on the side walls?? If you have a couple vertical layers midway on your wall, about the same height as your monitor speakers, it should be enough.
IF your mixing table is not too close to any walls or set of walls. basically don’t allow your mixing table to have too close a proximity to any walls, and you’ll more successfully mitigate the chances of producing rogue waves that’ll blur the grand vision of your mix.
Hey! Down In Front!
What do you have behind your computer monitor? What is your “front wall”, as we call it? Are you close to hard walls? Then you could be magnifying certain low frequencies that will then be overemphasized in your mix.
Give yourself at least two feet from the back wall and, if you can afford ’em, buy a couple bass traps for both corners (two or three high would be optimal). My table is over three feet away from any wall, and I believe, based on physics, that’s why I never have a problem mixing.
To the left you can see the three-high bass traps I have behind one of my sound diffusion panels. No big standing waves comin’ outta THAT corner!
Also, put a few sound absorption foam panels at monitor-height, just like you did for the side walls, directly behind both of your monitors. This should nullify any sympathetic frequency boosts in the area of your mixing chair.
No Ceiling Tennis, Please
Frequencies don’t just bounce horizontally; they ricochet vertically and diagonally too.
This is why, if you’re going to be tracking or mixing it all, you need to have some acoustic treatment directly above your mixing chair, on the ceiling, or your frequencies will be tennis balls being served into your head. Kinda hurts after a whole. 😉
These bouncing high frequencies off the ceiling can blur what you hear coming out of your monitors. These are called early reflections, or First Reflections, and they must be eliminated if you want to produce a clear mix.
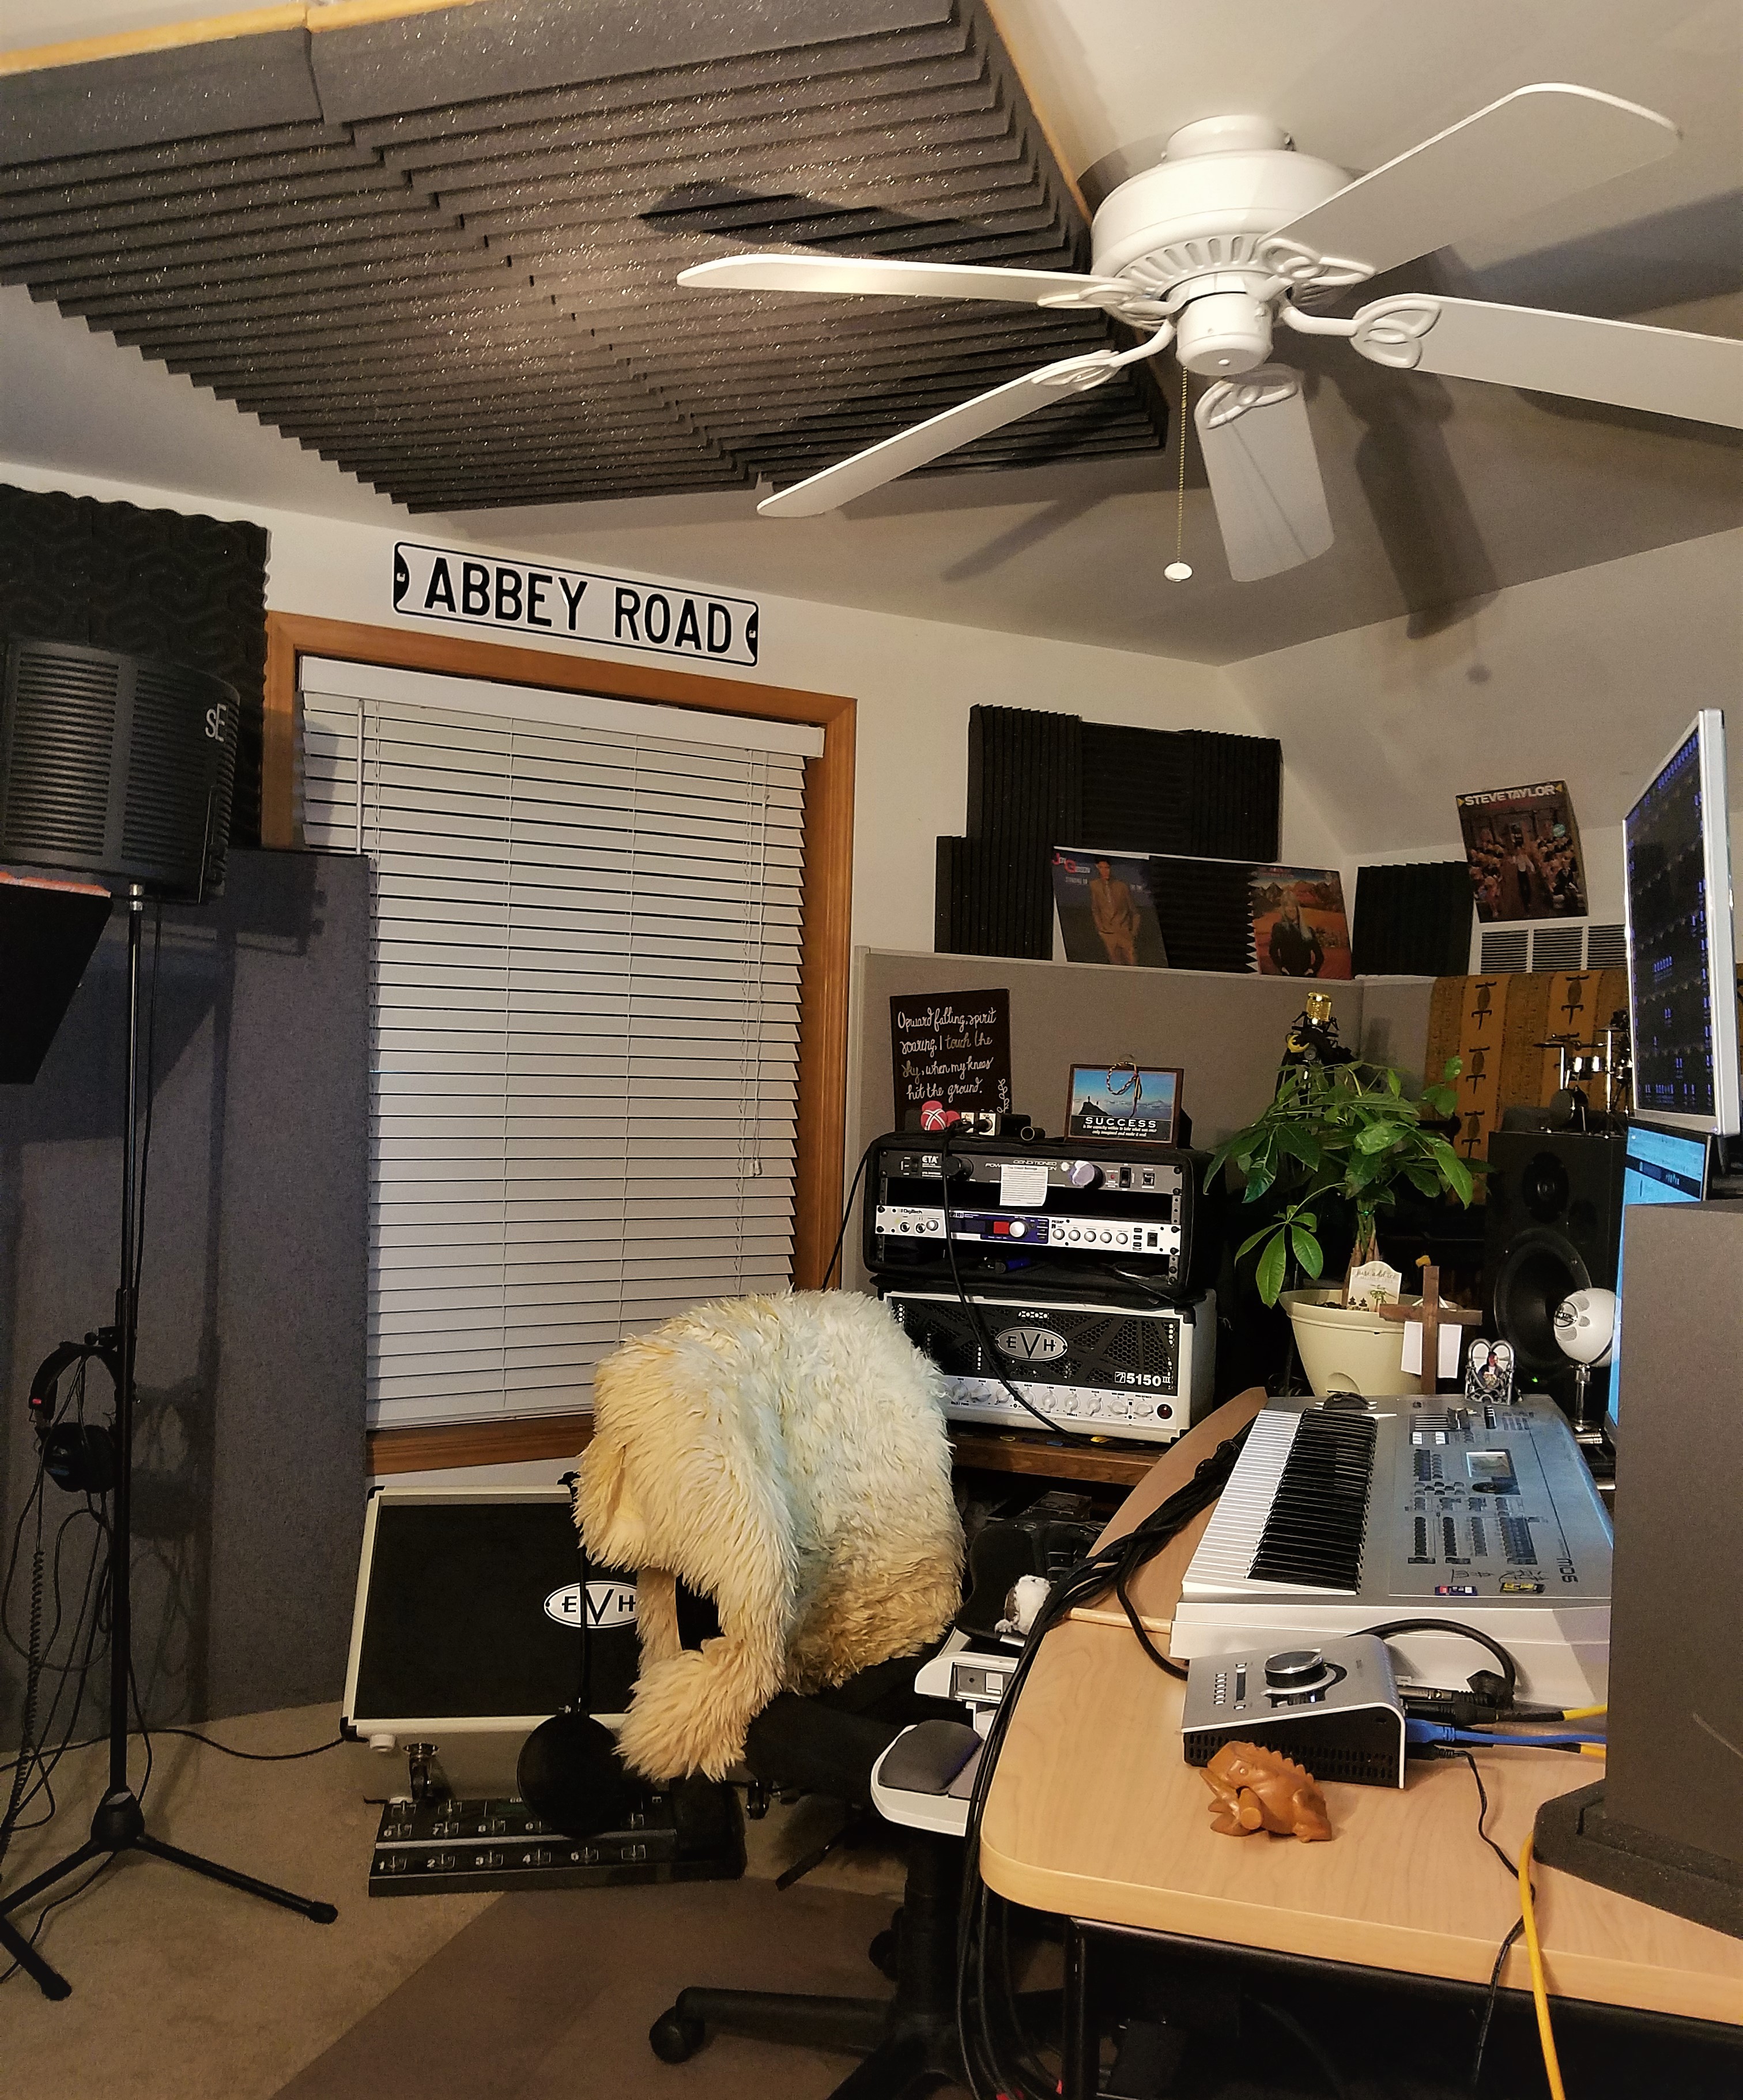
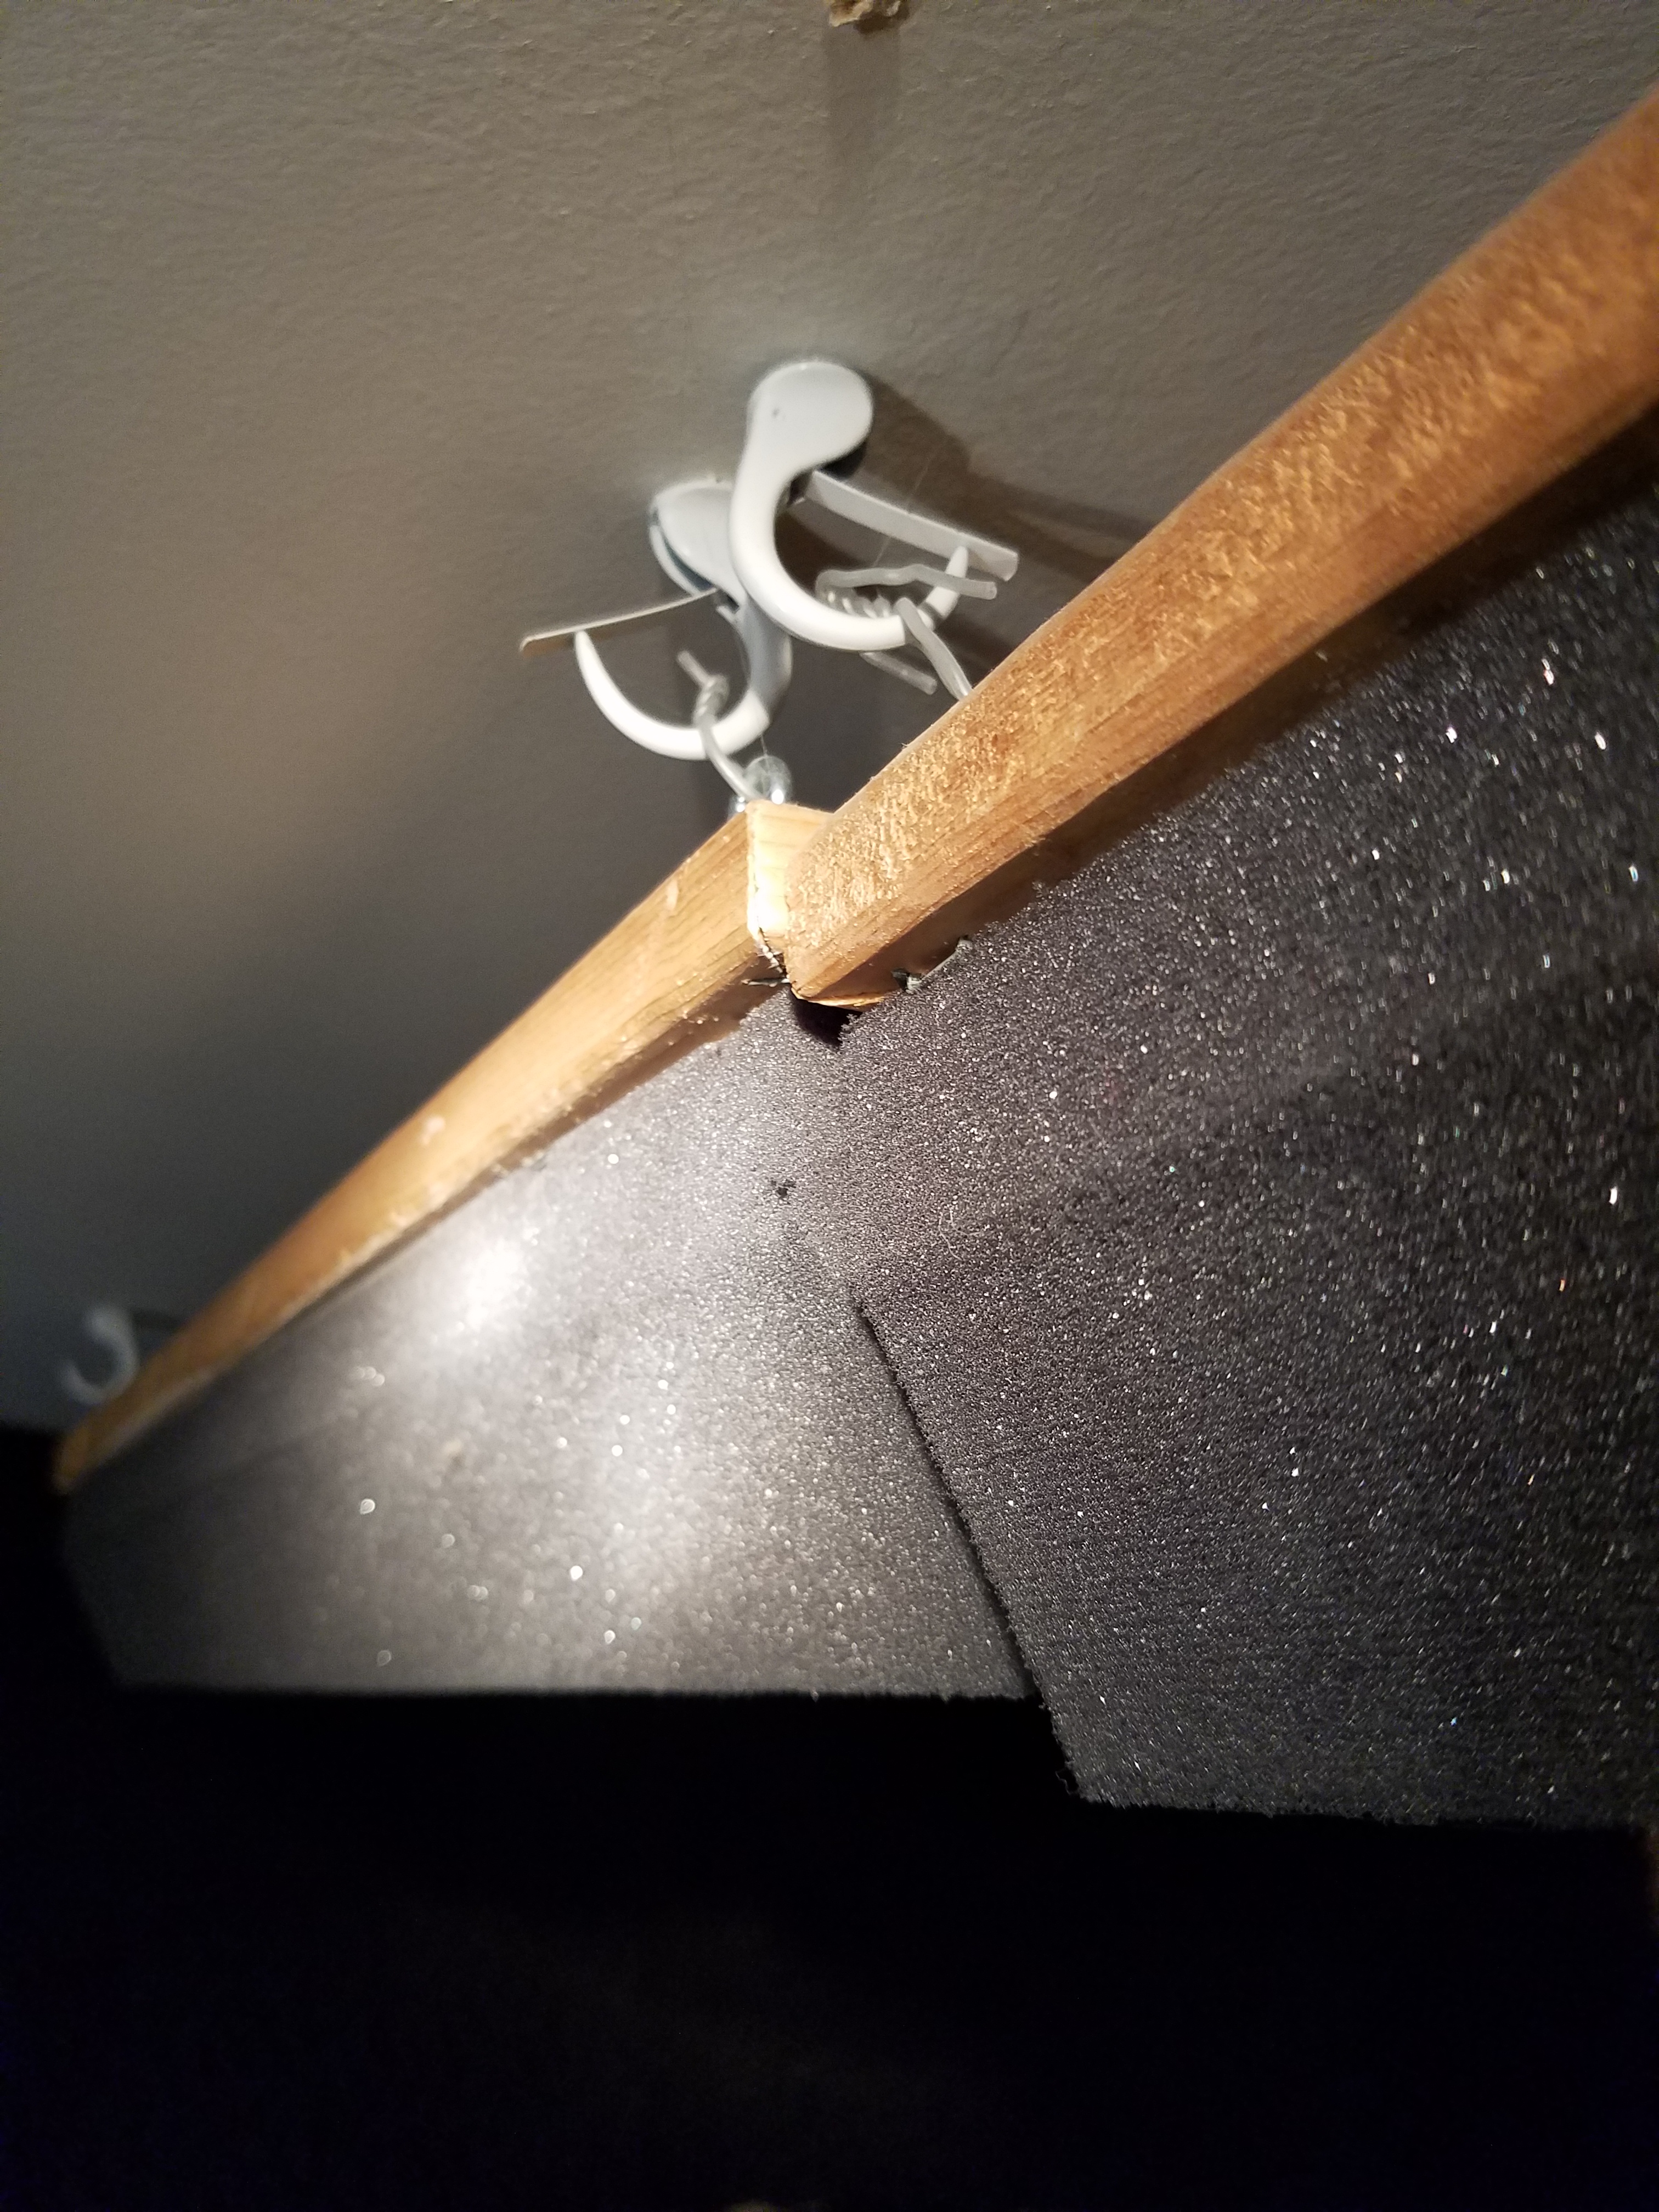
In the picture to the left you can see what I use.
The simple wood frame was built from thin wooden planks 3/4 of an inch by 1 inch and 1/4. Lowe’s or Home Depot, people. They’re cheap.
The frames are 48″ long, and 24″ wide, which accommodates the long piece of acoustic foam exactly.
I’ve attached to the frame 24″ x 48″ 3″ inch pyramid foam. This style because it’s the most rigid, so it won’t tend to sag when it’s placed upside down.
You could use pyramid-style acoustic foam, but it won’t keep the rigidity as well as the wedge style does. The convoluted egg crate style of foam, because of how it’s made, doesn’t come in 3″, so that’s not even an option.
Next, hot glue the foam to the frame and let it sit for at least a couple hours before you try to hang it. If you don’t have a hot glue gun, they’re cheap – pick one up HERE.
Lastly, just drill four little holes in each corner to screw four metal eyelets in and you’re ready to win those first reflection frequency battles!
As you can see in the picture below, I screwed four clip hooks into my ceiling, then used invisible hanging wire to connect them to the eyelets. Pick up that hanging wire RIGHT HERE.
Now, as far as where you buy the foam, I guess I won the Pro Audio Lottery, because the cheapest price I can find on this foam is a company that’s right in my backyard practically: Foam ‘N’ More in Clawson, Michigan.
I called them today and asked, just for you, the price for these. They said one wedge of those dimensions cost only 14 bucks!! That’s so much better than the prices I see online, lemme tell ya.
Find out all the specifics on their website RIGHT HERE. Throw ’em an email, place your order and save some big cash. Tell ’em Teaj from Seriousgas sent ya. They know me well from all the foam I’ve bought from ’em.
The other option is to order some from UA Acoustics. Their the next cheapest option and they actually specialize in audio, unlike Foam’n’More. Their website you can peruse RIGHT HERE.
Floored By Your Audio Prowess!
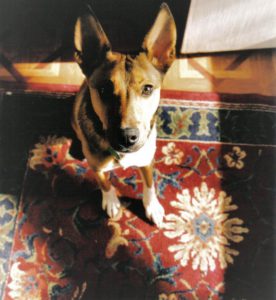
If you’re tracking in a home studio, there’s a good chance you have carpet on the floor. This is good. That means you don’t have to do anything else – it’ll suck up sound waveforms nicely, thank you very much.
If, however, you have a solid wood floor, or tile, Linoleum… (basically anything besides carpet), you’ll need to find a big rug to put underneath you.
It’ll be preferably to have one that extends a few feet forward to eliminate shoe noise, all the way to a few feet behind you to dispose of bouncing reflections from the ceiling or walls.
The floor is the least troublesome when it comes to recording audio, but still… we want to cover all the bases. You do want the best mix on our music possible, right? You bet your sweet asymmetrical walls, you do!! Lol
Let’s Table Those Frequencies For Now…
One often overlooked place where frequencies like to pretend they’re on a trampoline is the table you have all your tracking & mixing gear on. It’s a solid, smooth surface, right?? Then that means you’ve got bouncing frequencies, my friend.
Not too mention a lot of your gear sitting on the table that also has a lot of flat, smooth surfaces.
There are two things I use to protect the hallowed ground of my mixing table:
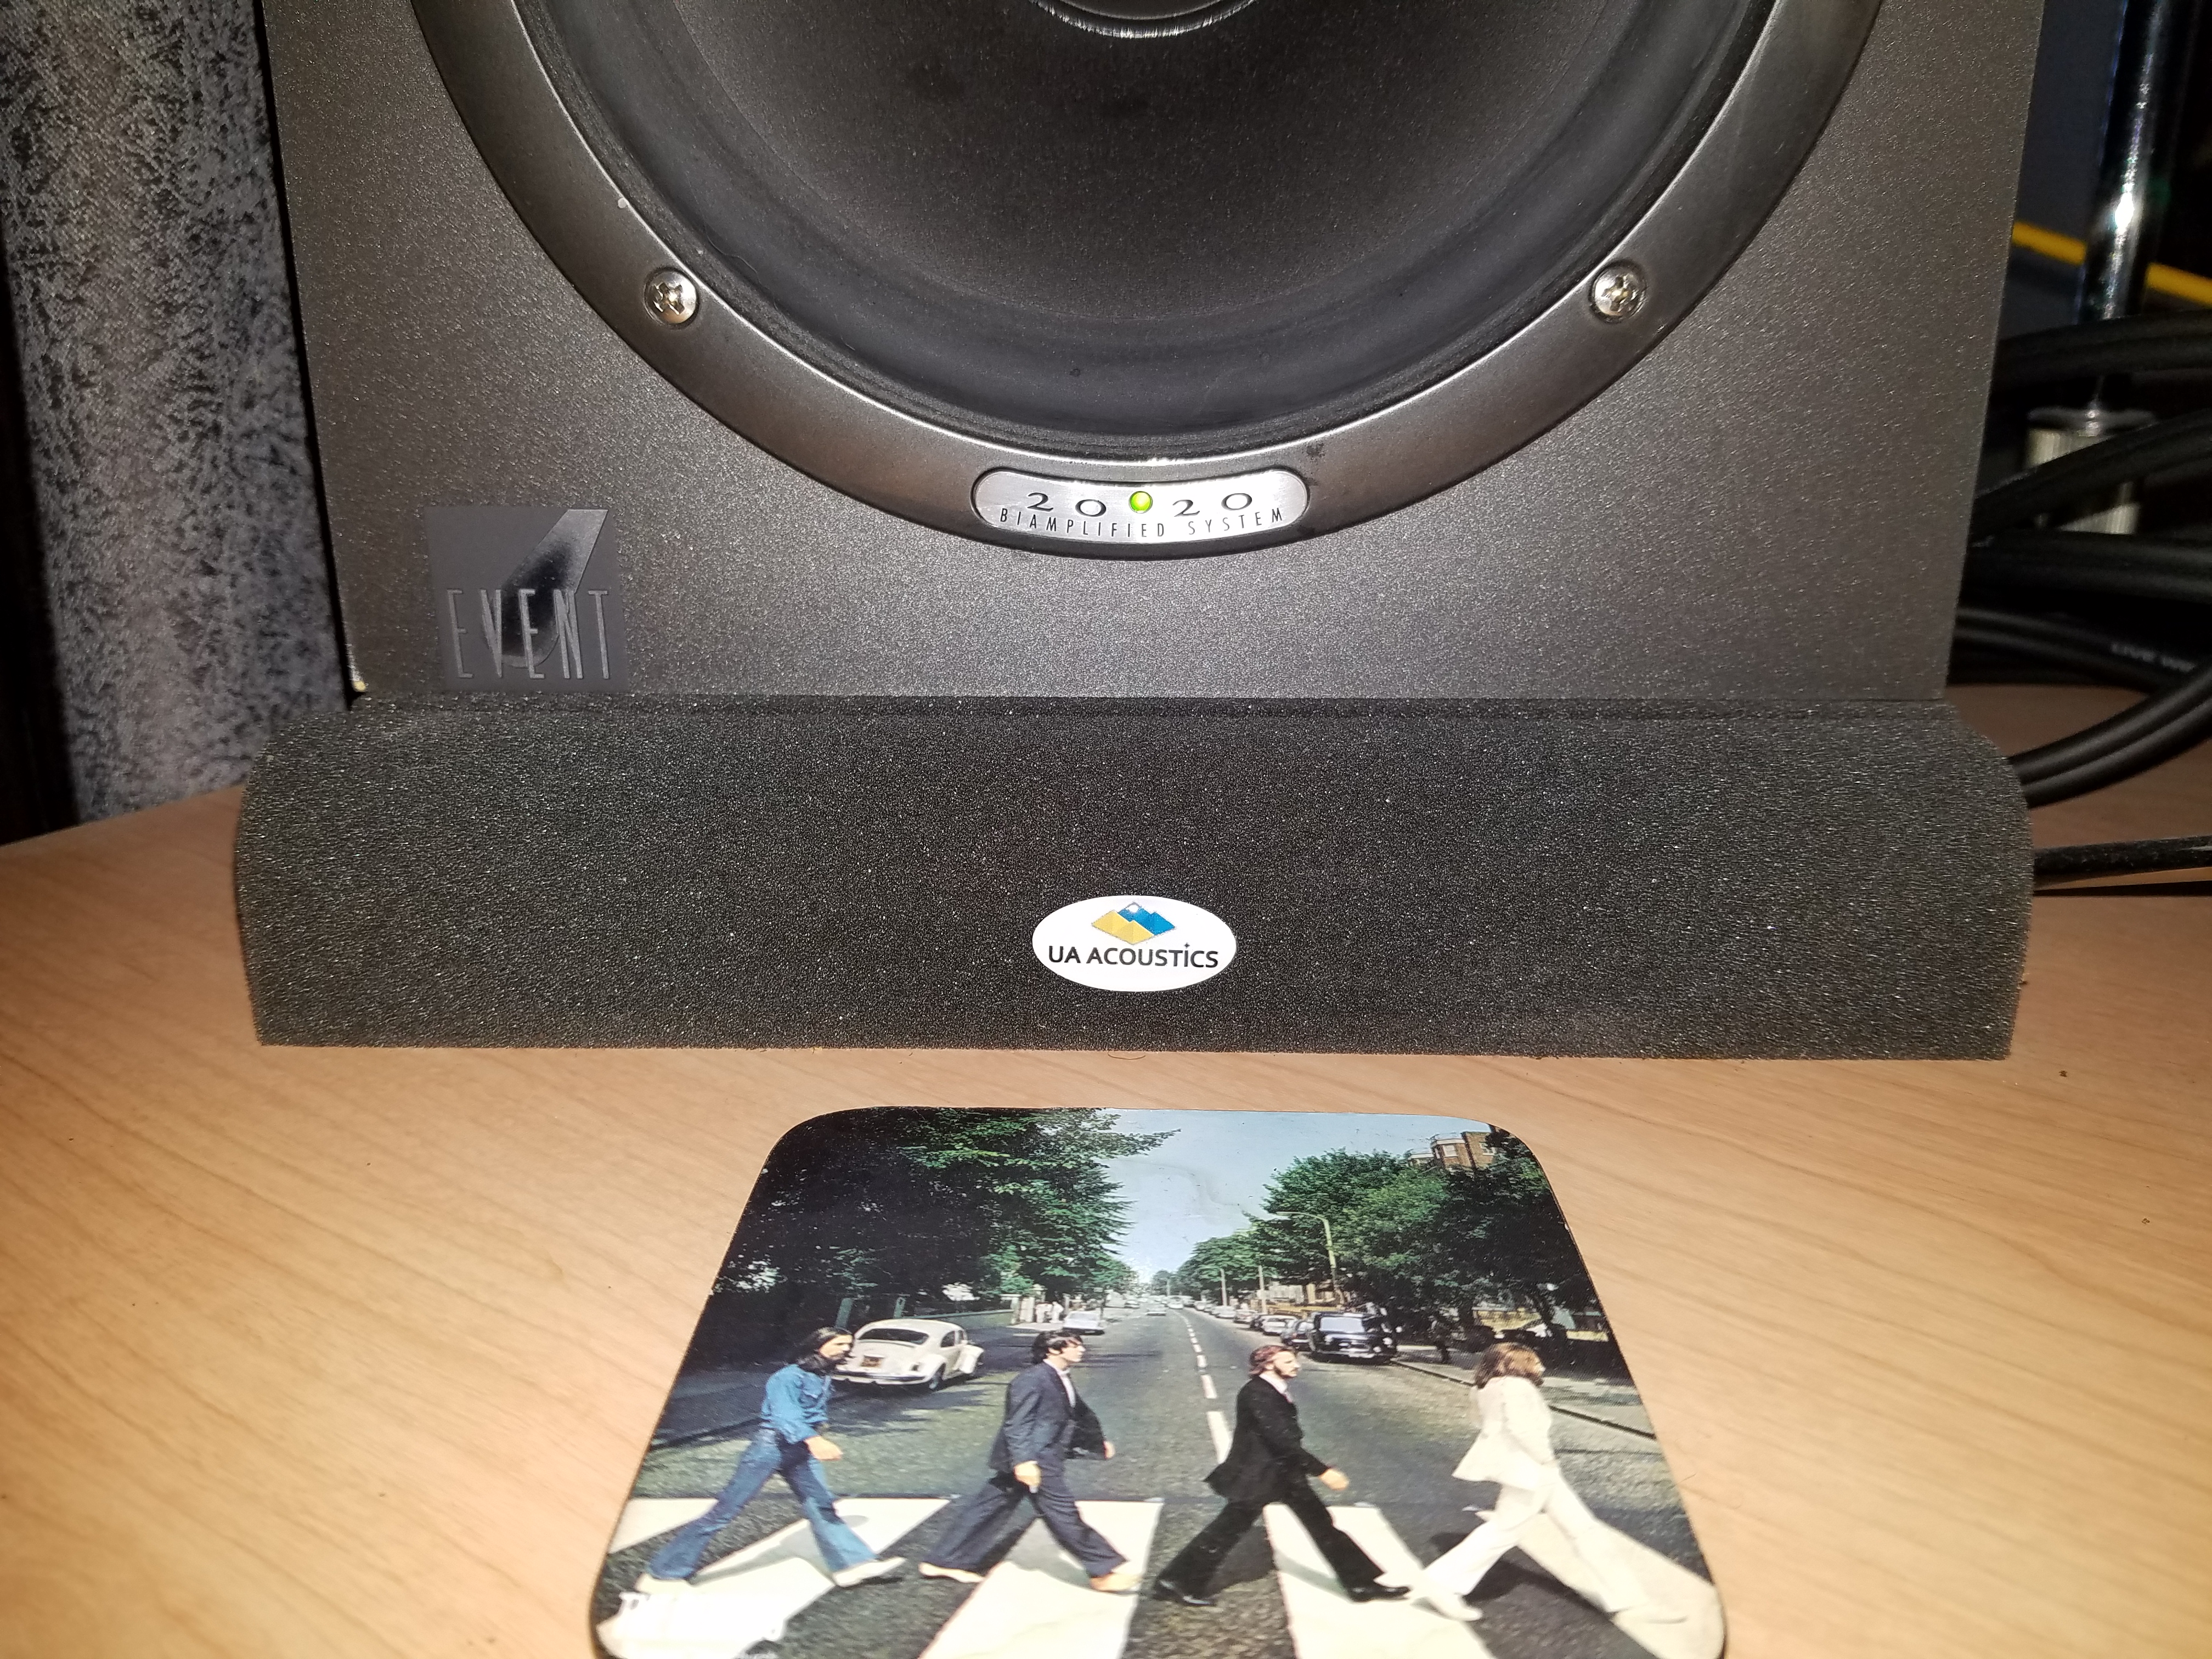
- Speaker Isolation Pads, and
- Acoustic foam ON the table during mixdown
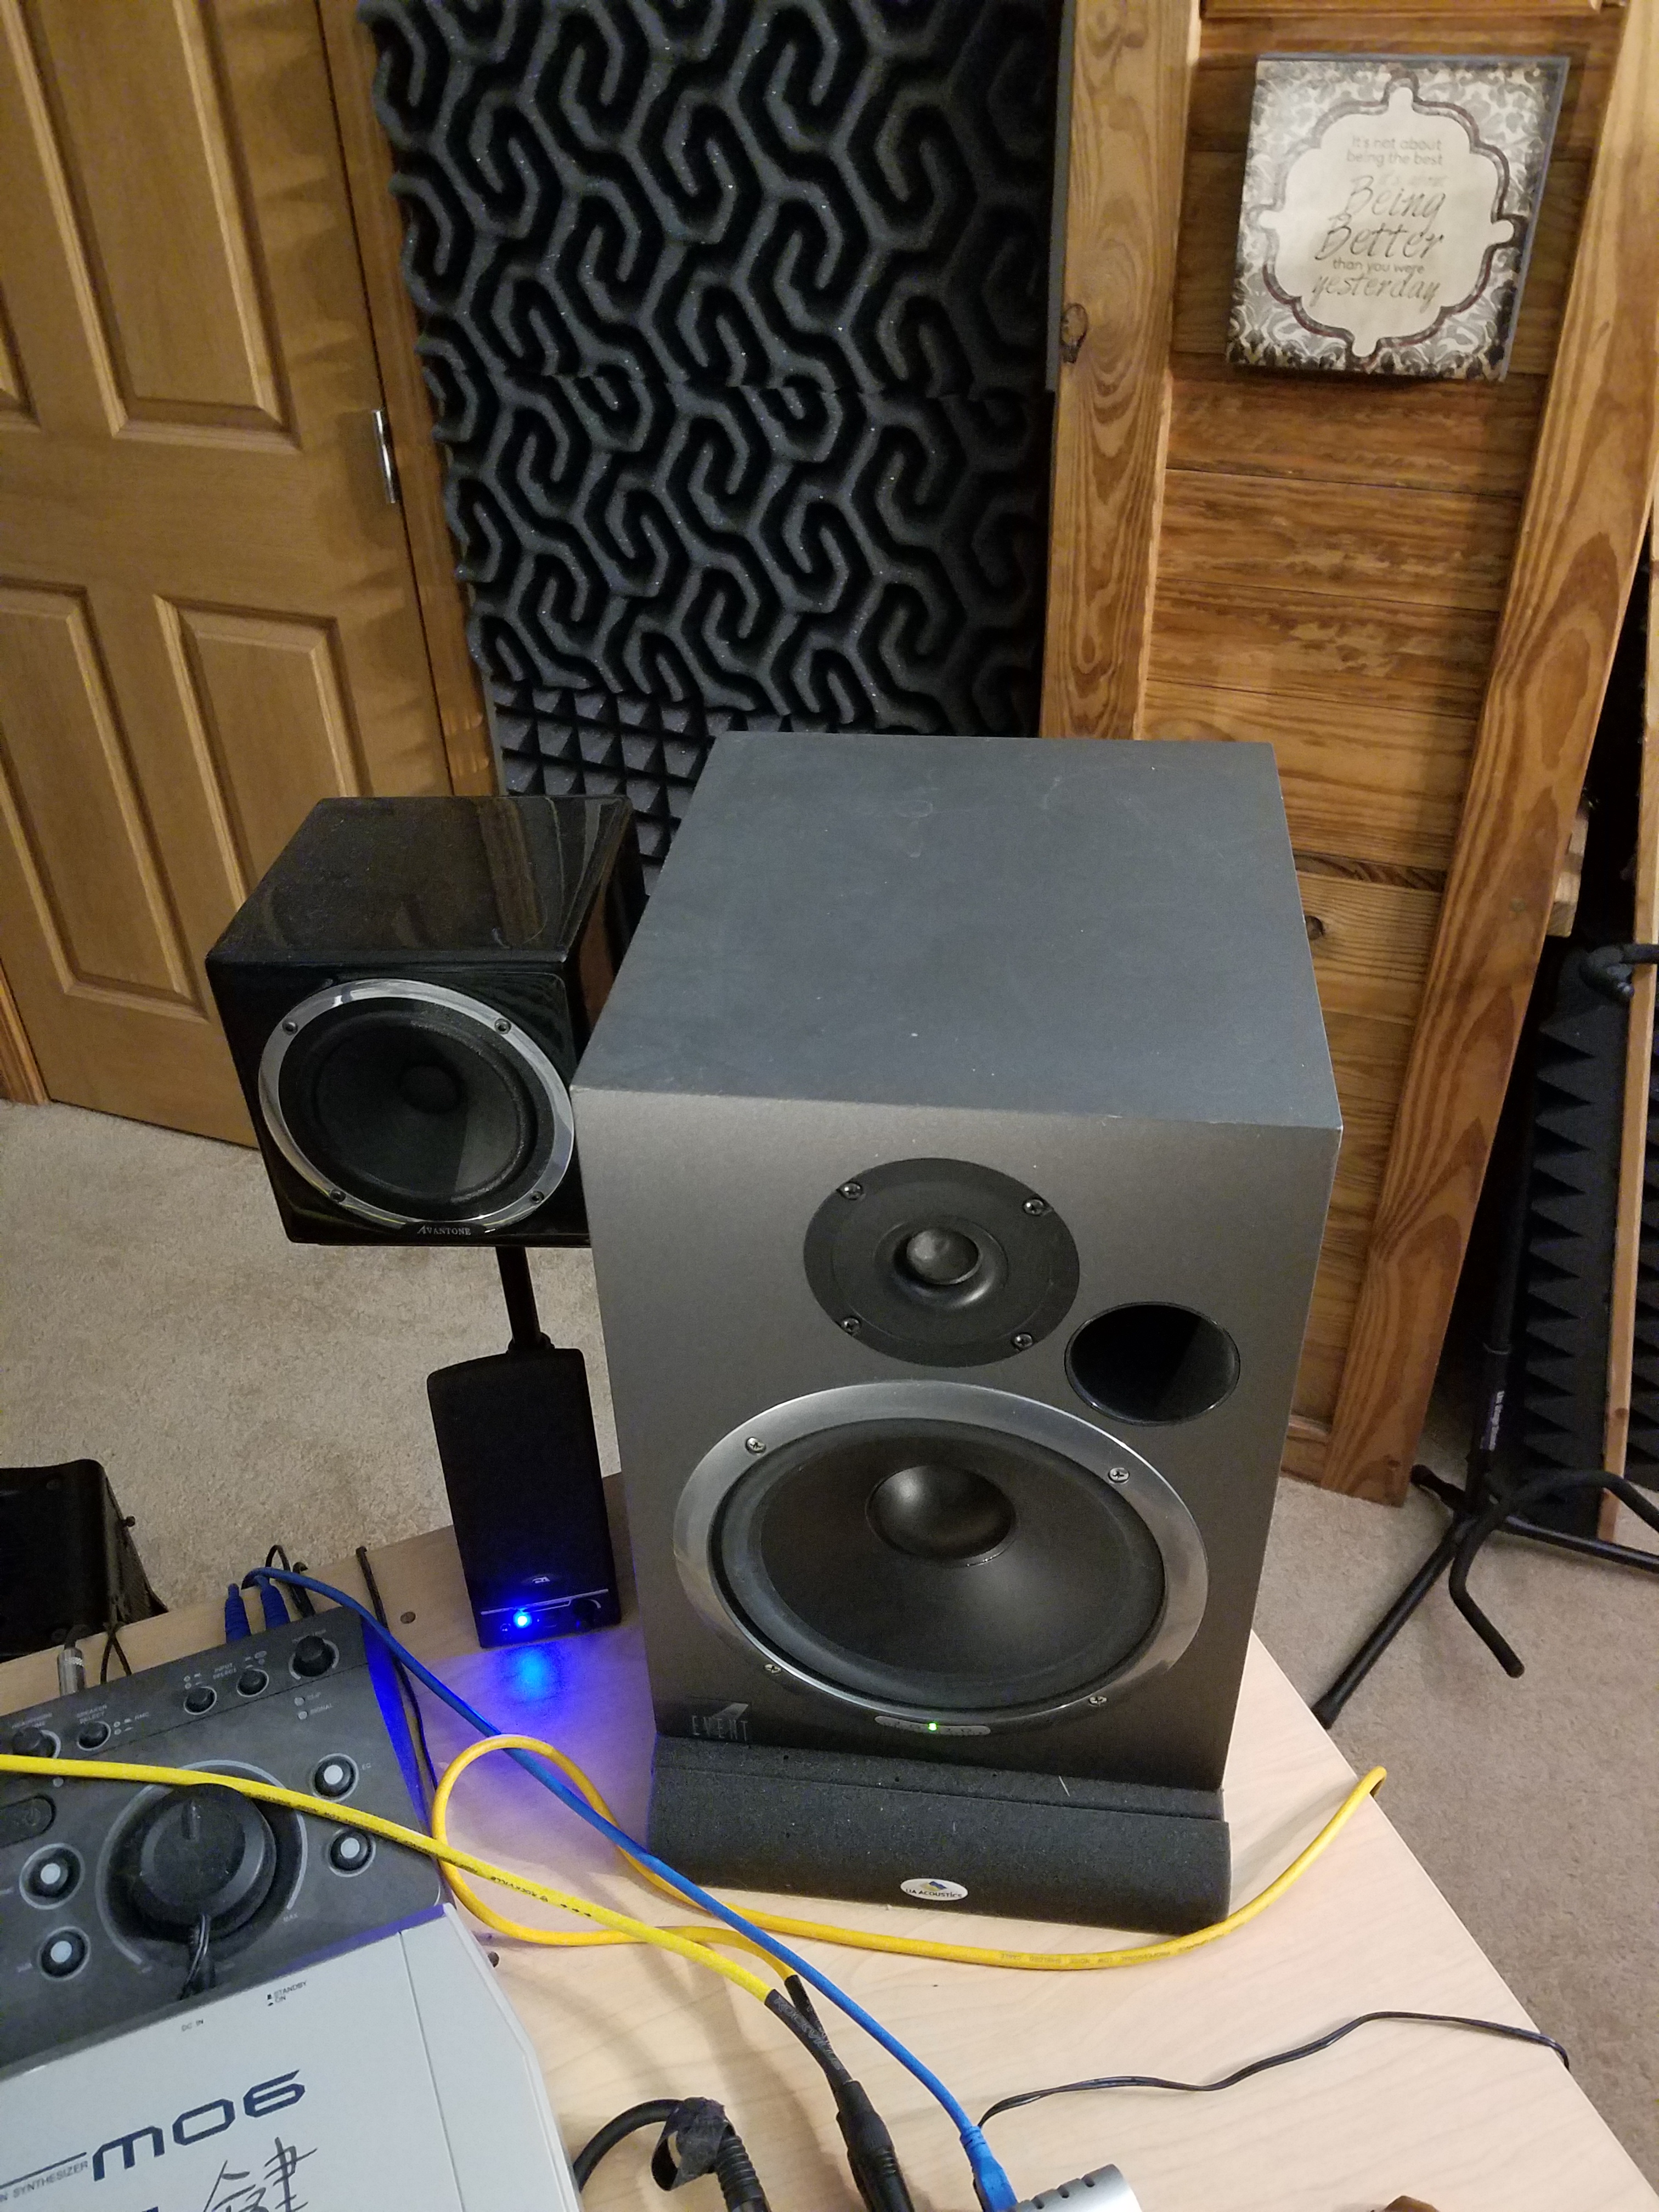
Investing in a good set of speaker isolation pads is a wise move. Every object has a resonating frequency, and tables are no exception.
Without iso pads, you’ll be sitting there cutting & boosting with your favorite EQ, totally oblivious to the fact that those instruments are fine – you’re just hearing EXTRA dB of them due to your table resonance!
This, in turn, serves only to cover up certain other frequencies that you then go boost with your fader or EQ, and all the while… the mix is fine! It’s just your table messin’ with your head.

The bigger your table, the more pronounced these results of simple physics will be, so… do yourself a favour – isolate those speakers with pads.
They’re inexpensive, and can help you get a great mix a lot quicker. The ones I use, which are made by UA Acoustics and do a bang-up job, you can FIND HERE.
Lastly, if I’m sitting down to MIX at all, I actually take my keyboard off the table, and lay down a bed of acoustic foam across the table-top in front of my speakers that I’ve cut perfectly to size. This virtually eliminates all “bounce-ups” and keeps my focus where it belongs – on the ACTUAL frequencies that I recorded, not ones that are sympathetically boosted because of my table top!
Overkill?? Not at all. Don’t we want our mixes to rival the best out there? Don’t we want to do the things that make that mixing easier, not harder?? All it takes is a little effort. Some determination. Some informed preparation…
… and some foam. 😉
Foam! But Not At the Mouth…
So do what it takes produce the very best results on your audio recordings – use sound absorption materials to your benefit.
Then you too can create mixes that will play through the ages, by attenuating all that room reverberation.
And remember, there’s always more inexpensive ways to do pretty much anything. With a little ingenuity, a little effort, a little help from your friends here at Seriousgas, you can have a bitchin’, sound-absorbin’ home studio cranking out the awesome tunes… in no time.
Now, go… make… sounds!!
Teaj

<div>Icons made by <a href=”https://www.flaticon.com/authors/good-ware” title=”Good Ware”>Good Ware</a> from <a href=”https://www.flaticon.com/” title=”Flaticon”>www.flaticon.com</a> is licensed by <a href=”http://creativecommons.org/licenses/by/3.0/” title=”Creative Commons BY 3.0″ target=”_blank”>CC 3.0 BY</a></div>
I’ve been a professional actor and voice-over artist for a couple decades now too, Nuttanee, so I know what you’re up against.
I’ve personally bought the Blue “Snowball mic” FOUND HERE, to take with me on all vacations, just in case my agent calls with a V/O opp’. It does the job great.
Then, here’s a trick that works great: if you’re in a hotel on travel, go down & get one of those hanging luggage carts by the front door. Bring it up to your room and HANG YOUR CLOTHES on it. Roll that rack right behind you so you get no bad reflections from the walls.
Finally put two hotel towels, folded and leaning, on on either side of the mic. This gives you a much more professional, dry sound that producers expect for voice-overs.
Did that help?!
If you love music, Juliet, there’s no better time to be alive! The vast number of options we have now for instruments, software, hardware… it’s incredible! Heck, you can even record a GREAT album now mostly for FREE, if you already have some instruments. Pretty amazing.
But as mentioned, you need at least one room dedicated to creating music if it’s important to you, and that means having a modicum of sound absorption strategically placed.
So get that rug. And remember to have at least one panel on the ceiling, above where you sing, and mix. It’ll make your recorded vocal more coherent and free from flutter echoes and, well… bad stuff!
Btw, if you’re a vocalist check out my series on singing, starting with THIS POST.
Hope to see you ’round again!
It’s very common, Chris, for some to use moving blankets to give them some instant sound absorption. I’ve found ’em cheapest at Harbor Freight, or an Army/Navy surplus store.
You’ll also need bass trapping of some kind if you’re that close to a wall. You’re getting all kinds of bad reflections that way!
Buy them, as I did, from a reputable source, or… make your own! Here’s a video of a guy who made some with quality source material:
Your creativity blew my mind. Everytime that I have to do a demo for my voiceover, i have to make a trip into the union free facility for it and it is annoying! My husband will love what you put together as well, we will convert one room into this sound proof studio like you suggested. Just a question did you come up with any idea for a portable sound proof studio? Just a question, my fellow actor has a limited space since we live in NYC. If she can get her hands into something small, portable and it works will be a life saver. Very informative post, you have no idea how many times, I struggle trying to record my voice and trying to eliminate the noise, the plane, siren etc. great post
Thanks for this post Teaj, music is the art of combining sounds in a manner agreeable to your ear! I love music, sing and play some music. I could do with a room where there will be no noise interruption, no distractions and no distortion of my music. Thanks for the tip. I really need to get a thick rug for my floor, right now its laminated floor.
Thanks for visiting our site, Emmanuel!
Yes, tell your friend all about the good info found here for anyone doing any kind of music. There’s lots to learn and always a story or two to inspire!
This is in good timing – I’ve had to move into the basement apartment under my parent’s house and I’m finding it hard to pull off any sort of recordings at the moment (except late at night, early in the morning!).
I feel my main problem at the moment is the wall behind my chair as I’m mastering, smooth and flat and not that far away from the seat backing. I’m unable at the moment to get hold of office partition parts, so I’m wondering if hanging a curtain down the wall will act as some sort of baffle?
Great post and good info.
I’m not so interested in it, but it is interesting to read it.
But, it is interesting for a friend of me, who wants a studio, he is a rapper, or he thinks he is, but anyway, I will show him this, so he knows what he can do and how much it can cost.
Thanks a lot for sharing it!