
When music is first born, it’s often sent floating off into the air, via the instrument of our choice, like stars dancing through the cosmos.
When it’s time to record that music however, every single note and noise needs to be corralled down a long & narrow line until it reaches the stage where it can shine like those stars – the mixing board!
Audio (and video) cables are like tangible umbilical cords that help funnel the musical life we create into a captured medium.
But they’re not perfect. They are extremely sensitive to things that will splash noise onto our signal – things like EMI (electromagnetic induction), RFI ( radio frequency interference), electrostatic coupling & changes in capacitance.
Many (tho’ certainly not all!) audio cables that you buy are made to withstand these things up to a point but, as usual, their effectiveness is all over the map. Thus, it’s up to us to use informed tactics to defeat any and all audio gremlins before they steal our audio gold!
I could get reeeeeeeally technical in this post, but because there are literally hundreds of other articles & videos you can consult that cover those details ad nauseam, I’ll spare you the boring bits. Instead, as usual here on Seriousgas, we’re going to concentrate on what works and, in a succinct way, tell you why.
Let’s get our signals straight!!
Humming vs. Humming!
Feel free to write a song in which you hum a lovely melody and get us a feeling all warm and fuzzy inside. That’s a good thing.
But letting HUM creep into your signal because of proximity to electric cables?? Baaaaad. Very baaaaad!

Here’s the deal: you want to keep your electric power cables as far away from your audio cables as possible.
Why? Simply put, because they usually introduce noise into your signals.
In my studio, I was very deliberate when hooking everything up to place all my hardware in such a way that all power cables could be tied together and kept away from any audio cables. If you want clean signals, you should do the same.
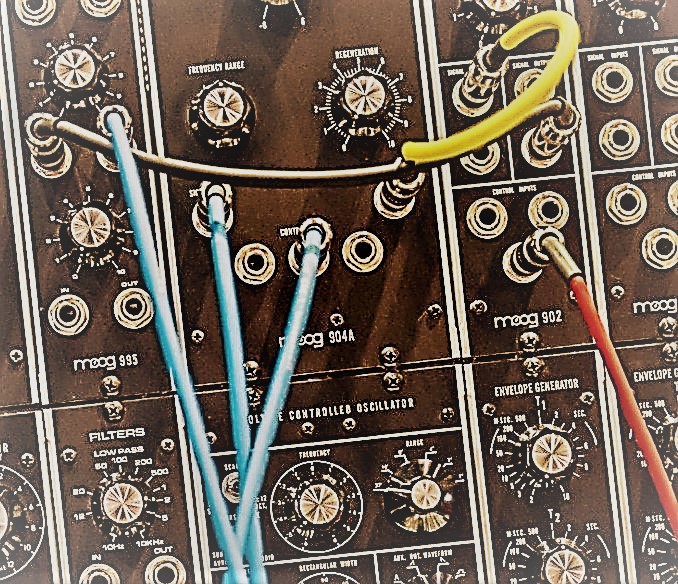
If, however, there’s no way to get around juxtaposing a power chord and an audio cable, do this: make sure they are crossing one another at a 90 degree angle.
Making them cross perpendicular to each other like this will greatly lessen the hum and noise potential. Why?
Because of the Laplace Force, which is due to yet another law, the Biot-Savart Law, which…
Sorry. I went all tweaky there for a moment. 😉
There are other cables which don’t have too many problems with this, like optical cables.
But if we want to maximize our potential for excellent audio, I say let’s use every trick in the book.
So if you see any power cables running parallel to your audio cables in the studio… Cross ’em, or move ’em!
The Right Length for the Job
Here’s another thing you can do to potentially increase the quality of audio pouring through your studio cables – buy cables just long enough for the job, but no longer.
Having long lengths of extra cable is especially problematic in the live sound arena. There, because you can run snakes sometimes for hundreds of feet, picking up noise becomes a real problem.
But, again, if we know that the longer the cable the more noise can be picked up, then even in the short run, why not just make sure we have the right length needed and no more?!
I’m especially picky with this when it comes to monitors. the cables coming out of my interface and then into my various studio speakers are measured exactly to length.
The reason? I want the cleanest sound possible. And besides… why pay for extra cable when you don’t need it?
Now, I know some of you out there (trolls, anyone?) think that:
- The length of cable won’t matter a bit, and
- The brand, materials & construction won’t matter at all
Sorry, but there’s just too much proof to the contrary. In fact, if you just think through it, the conclusion is unavoidable that these two things DO make a difference.
For your educational pleasure, try on Assan’s article on cable length HERE. It should at least get you considering how size matters.
As for the ongoing debate about whether materials & construction matter (I can’t believe this is even considered arguable) READ THIS.
So don’t just buy a cable of any length ‘cuz it’s on sale. Measure, know how much you need, and buy accordingly.
Electric Infinity!
If any of you have studied Electric Engineering (like my wife), you may remember that coiling power cables in a circle, or loop, creates magnetic inductance and heat generation.
In layman’s terms: it could send noise out further, louder, and hurt cables because of heat.
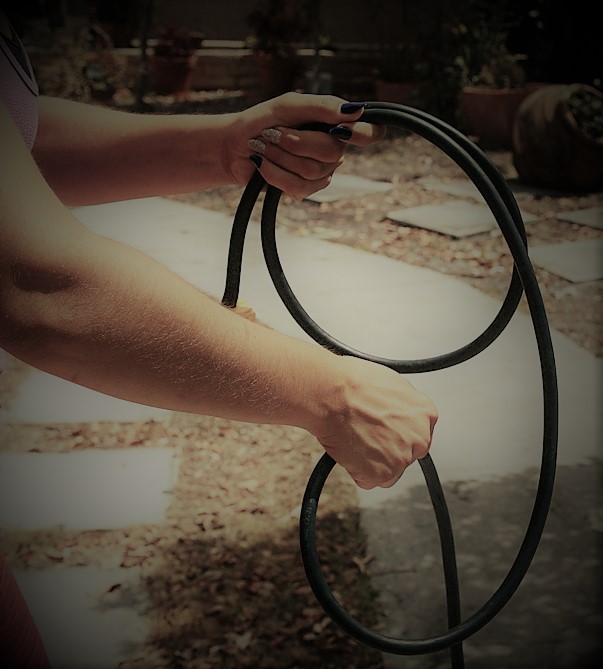
So, let’s not do that, shall we? Instead, coil any extra electric cable into a figure-eight pattern. This will reduce any magnetic inductance and help dissipate the heat better.
Not that you’re going to get much with shorter cables, mind you. But in a recording studio, we should seek to optimize every single link in the audio chain with as many complementary tweaks that we can.
As we know, it aaaaaaaall adds up, and eventually lands in our recordings!
Over/Under. Roger, Roger. What’s Our Vector, Victor?
Much of your studio wiring will be plugged in and left untouched most of the time. But there are cables that we have to use and then put away.
For these cables it’s important to gather them up correctly, ‘cuz no one wants to suddenly have to take another trip to Guitar Center just because of a dead cable.
There IS a right way to coil audio cables. It’s a method that maximizes the longevity of the cables by protecting what’s inside.
I was preparing to shoot a video to show you this, but then… I saw hundreds already uploaded showing the exact same thing.
Like almost everything else humans ever did… yea, YouTube’s got a vid’ for that! Lol
Let’s watch our pal Gil show us the technique that I learned in my first days of working professionally in L.A. Studios:
Didja get it? It might take a little practice before it becomes second nature. I know it did for me.
Suffice it to say though, this IS the way you want to gather cables. anything we can do to keep those wires inside from breaking, twisting or cracking is to our long-term benefit.
And our music’s too!
Besides I read a statistic online that said that 75% of musicians who coil cords incorrectly will inevitably pass this behavior on to their children. Awwhh! The insanity must… be… stopped!!
Why You Got to Label, Braw?!
Labeling might be very un-P.C. in the real world, but in the studio it can be a real TIME-saver.
It will save you an enormous amount of time if you label all cables that are installed and you never or rarely change.
I’ll give you an example: I have a 20 foot, 8-cable snake that I use for recording live drums. A snake is a great way to organize if you need a lot of inputs ongoingly.
When I first got it, I didn’t label anything. After about the fifth time using it, each time spending at least an hour trying to figure out where each of the strands led to, I said, “Enough!”
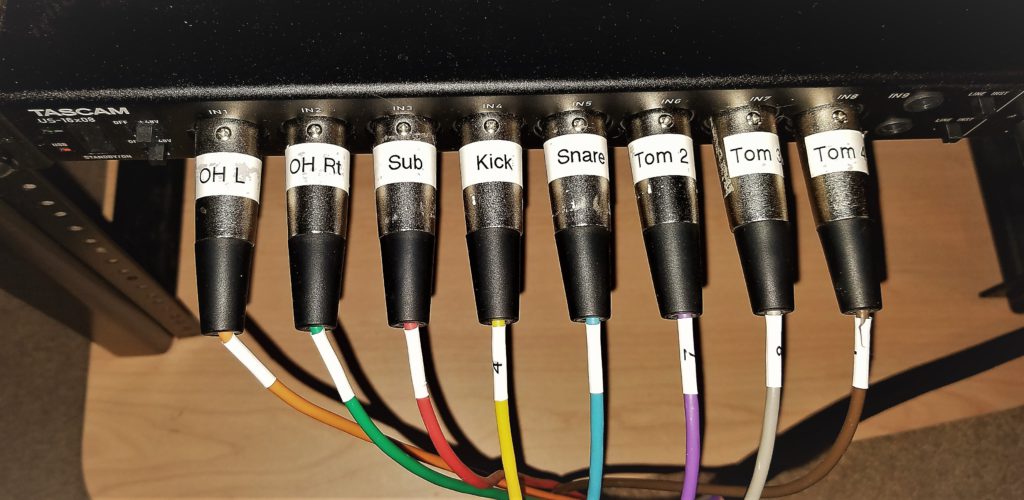
Now I always leave my studio drums mic’ed, at the ready, with cables attached. At the ends of those cables I have different-colored tape applied that corresponds to a specific strand of the snake, and/or printed out labels with the names of each specific part of the kit it leads to.
By doing these things, I know exactly what cable my snare needs hooked up to, and don’t have to call my son up to play the drums to figure out the signal flow of our Neil Peart-inspired drum kit… which obviously could take a while!
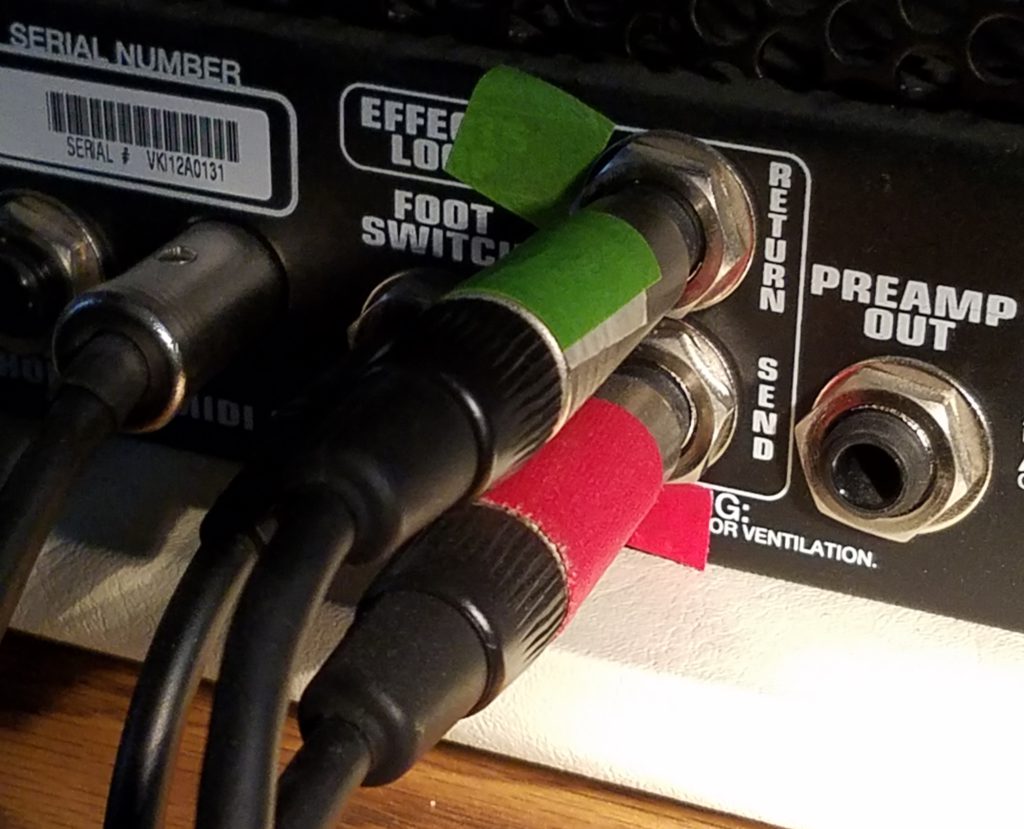
Similarly, I have color-coded my guitar amp setup. I use the four-cable method, which you can read about right here.
The cabling is a bit more involved in this method, so color-coding makes it quick and easy, not only in the studio, but for when I have to go play live.
None of this is crucial if we’re talking about cables that never gets swapped. But for those that get changed out a lot, let your rainbow signal flow shine, my friend.
You’ll thank me later. 😉
The Ring, Precioussssss… !
I’m sure most of you already know this, but for those of you who are quite new to this business of pro audio, I want you to be aware something you might miss.
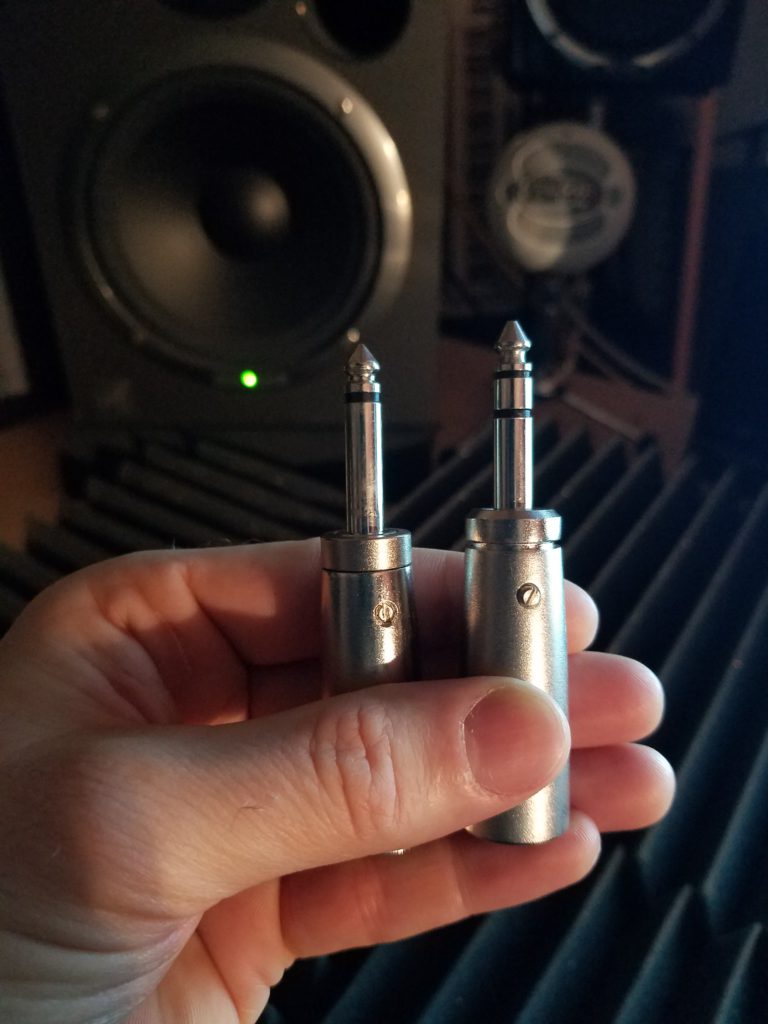
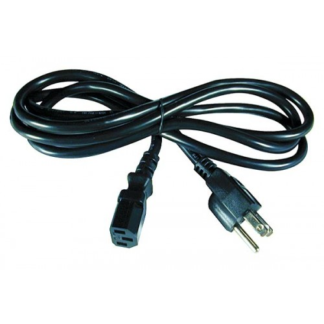
There are two kinds of quarter-inch cables:
- Balanced
- Unbalanced
The way you can tell them apart is by looking at the metal ends. If you see only one black line, then it’s an unbalanced cable.
If you see two black lines, it is a balanced cable.
The bit to remember? Don’t use one where you should be using the other.
For all your guitars, amps and pedals, use unbalanced cables. That’s what they were designed to use.
The connectors used for amps and this kind of thing are typically short, so you end up having no real benefit using balanced cables anyway.
Let’s listen to Colin give us a really good explanation of this… not only because he knows what he’s talking about, but because his accent is William Wallace awesome!!
Heigh-Ho! The Cord Velcro!

The last thing about I’ll say about studio cabling is that you should have your cables organized and partition according to type, even where you can’t see them.
Using Velcro strips is a cheap, but very effective way to accomplish this. I bought THIS LARGE PACK of colored Velcro strips to keep my cable paths nicely harmonized.
For me personally, red Velcro equals electric cables (they’re HOT, you know?).
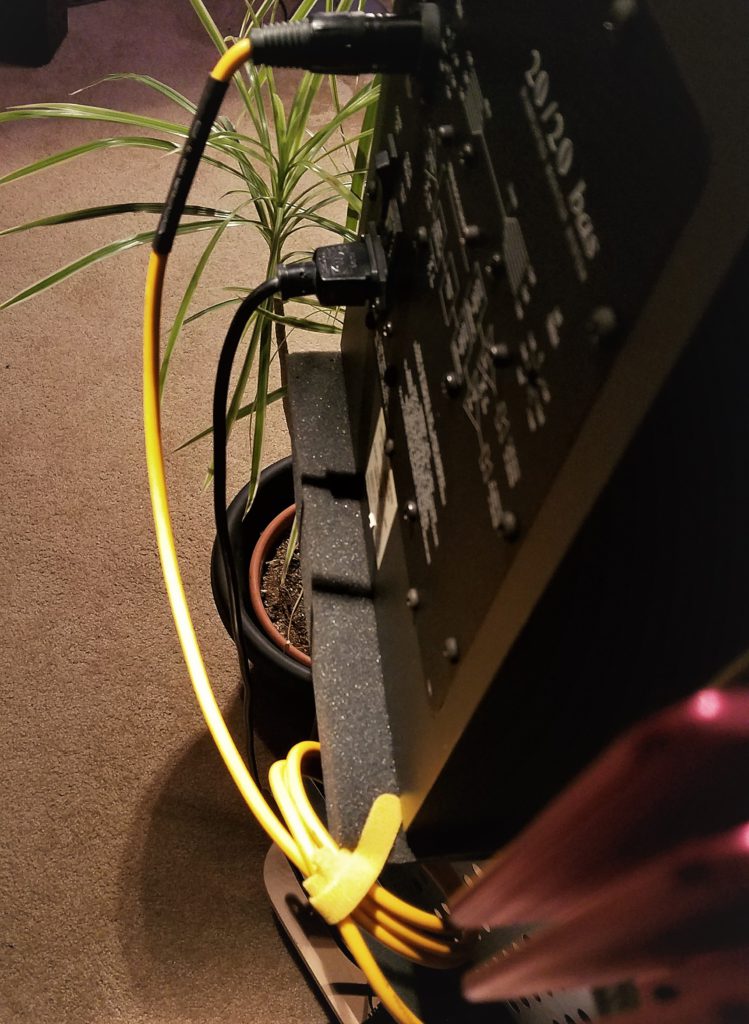
Yellow Velcro the audio cables of my main monitors in place, and green Velcro I use for secondary speakers.
You get the point. If ever I need to go behind my monitors, behind my mix desk, I’m no longer greeted by a cobra den of black spaghetti.
Instead, there is order, clarity and neat organization that helps me make any changes or troubleshooting quickly and easily.
That isn’t that what you want for your studio? 😉
Another option for this is a cable management sleeve, like THIS ONE.
But I still prefer the Velcro strips. The biggest reason is I secure audio cables high on my desk, while running the electric cords low, near the floor. This keeps them, as we discussed earlier, in their own little worlds.
The studio – where audio segregation is a beautiful thing!
Give a Man Enough Cable, & He’ll RECORD Himself!

So with the myriad of cables we have in our audio Studios these days, it’s more important than ever to keep things organized and play by certain audio rules that can ensure a professional, exciting final product that has a noise floor as near to zero as possible.
If you need more explanations on any of these issues, or if you want to get all super-tweaky, we can do that too. Sometimes it’s fun!
But for now, take what I’ve given you and make your music the better for it! 🙂
OK – ‘WIRE’ you still here? Go… make… sounds!!
Teaj